Open Annotator
If you received an email invitation, copy the link from the email into Google Chrome Browser to open the specific project.
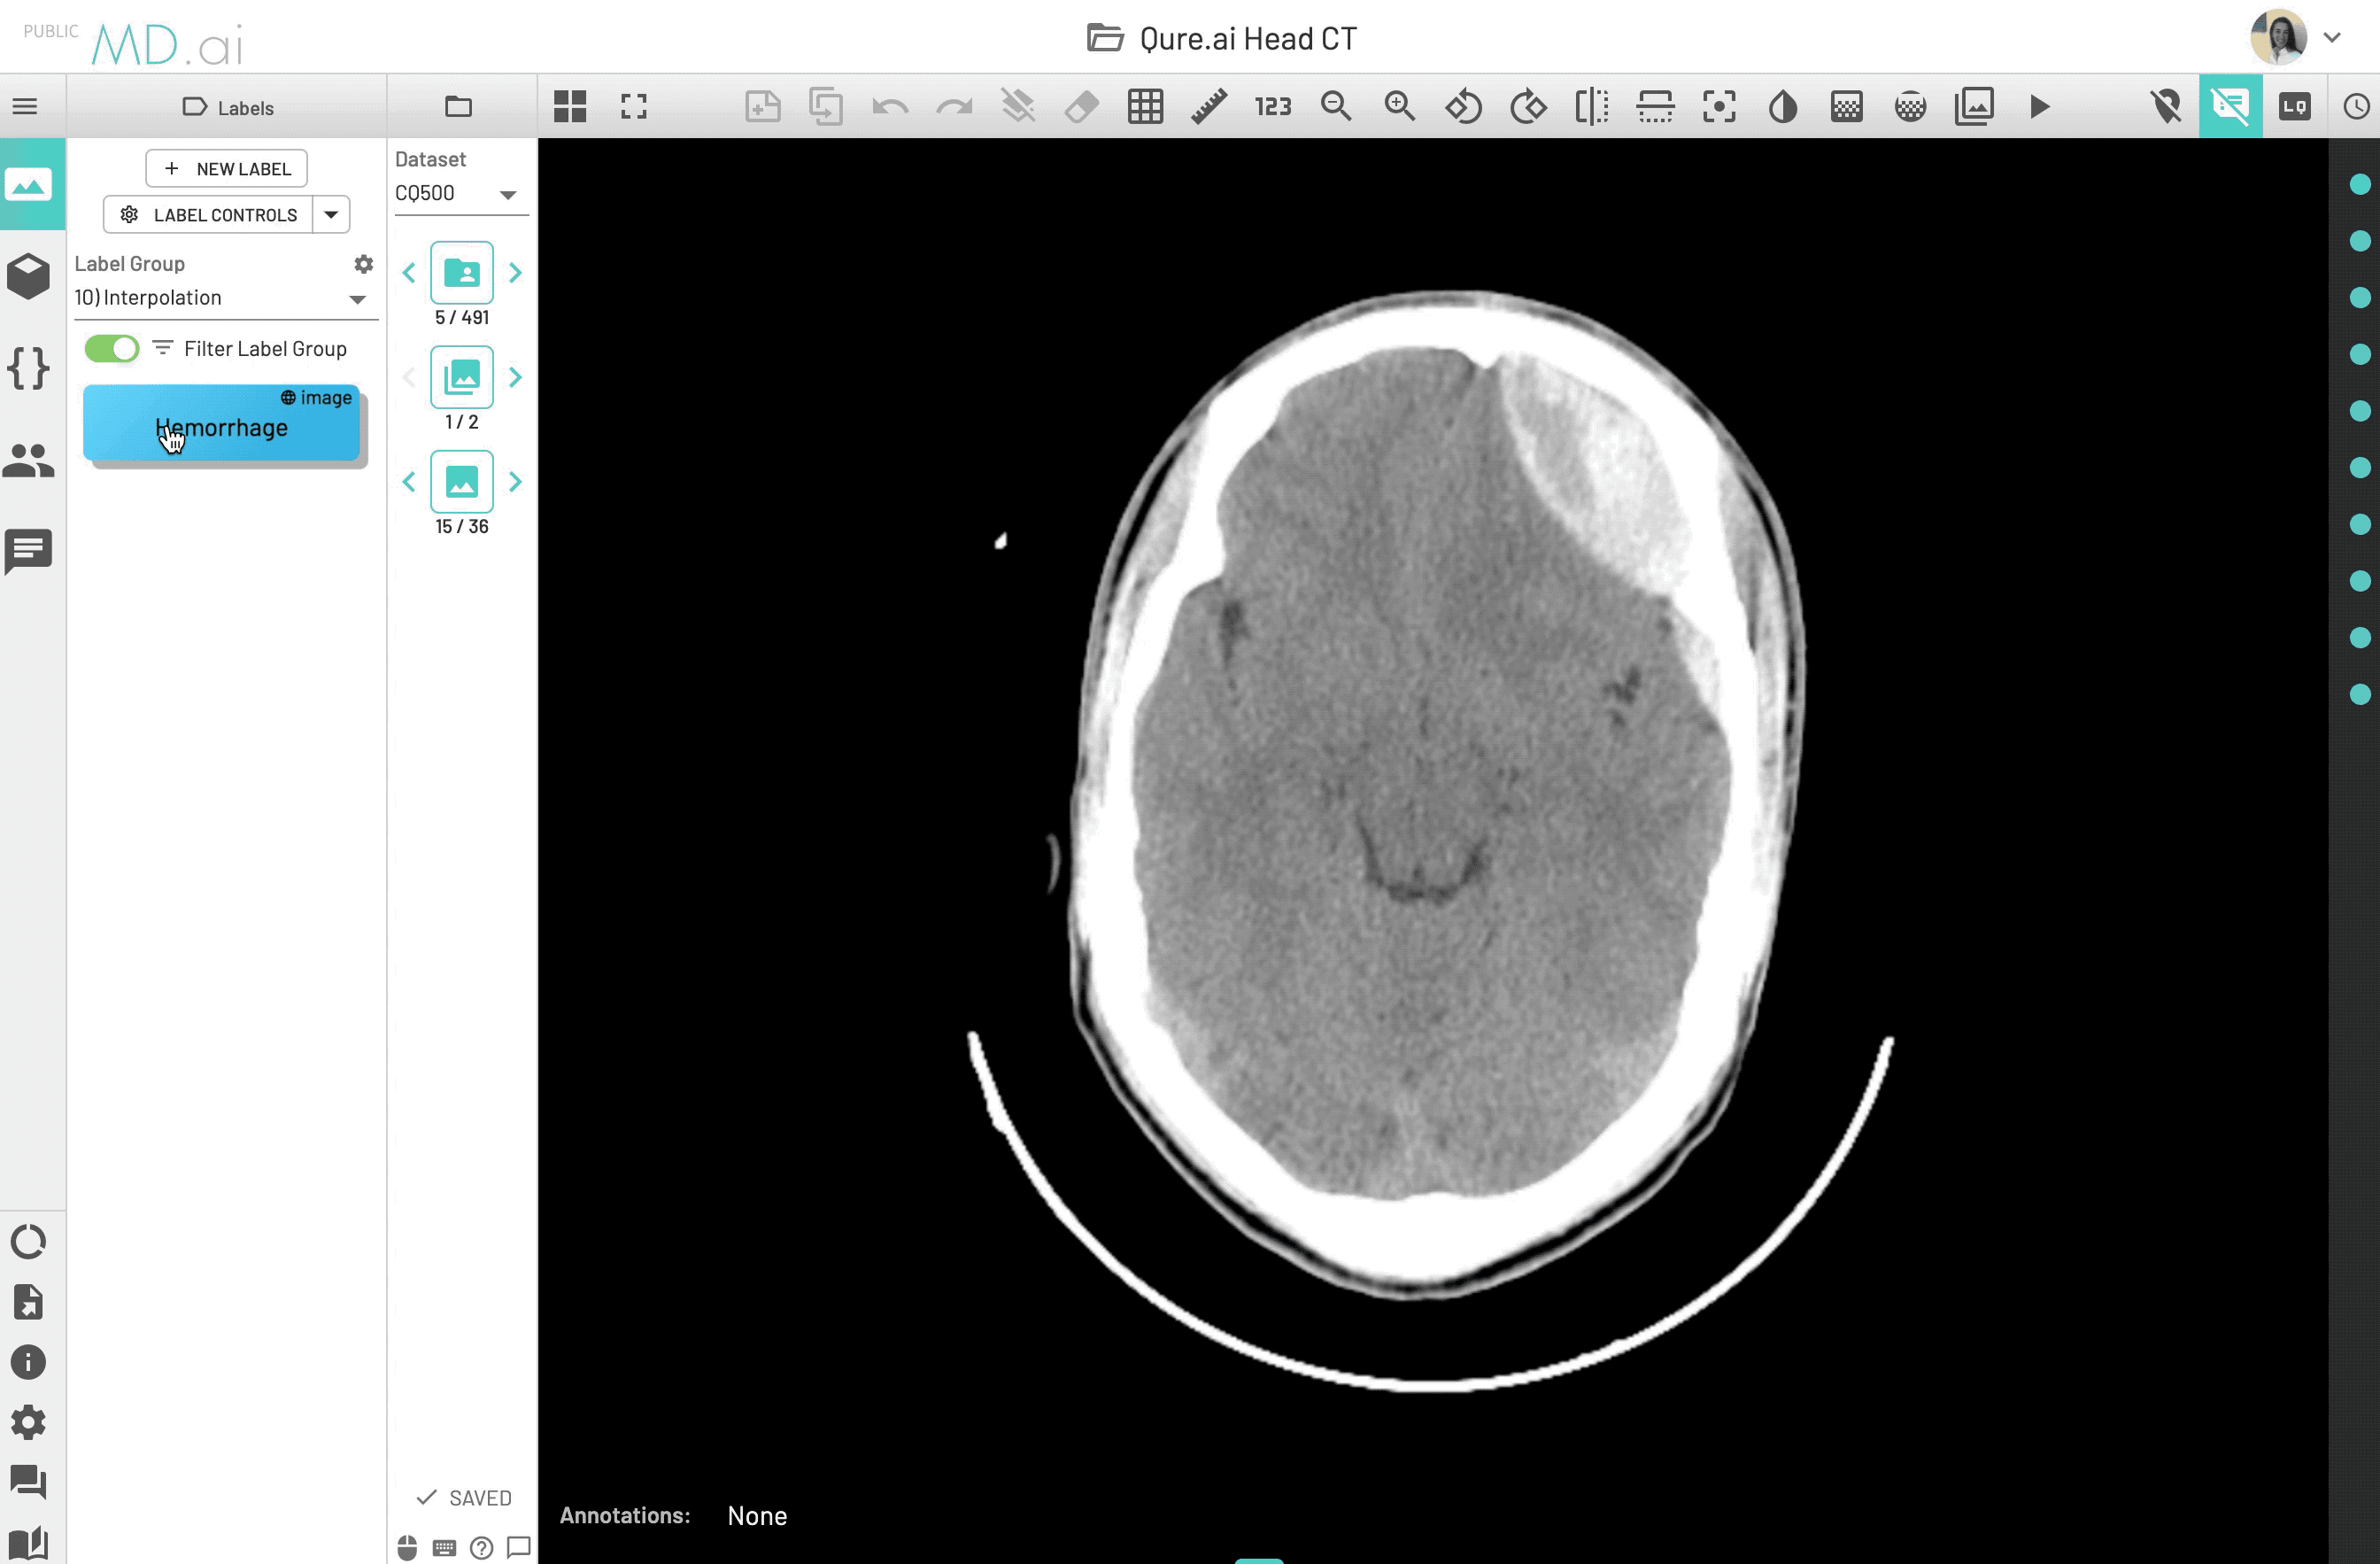
Your first annotation
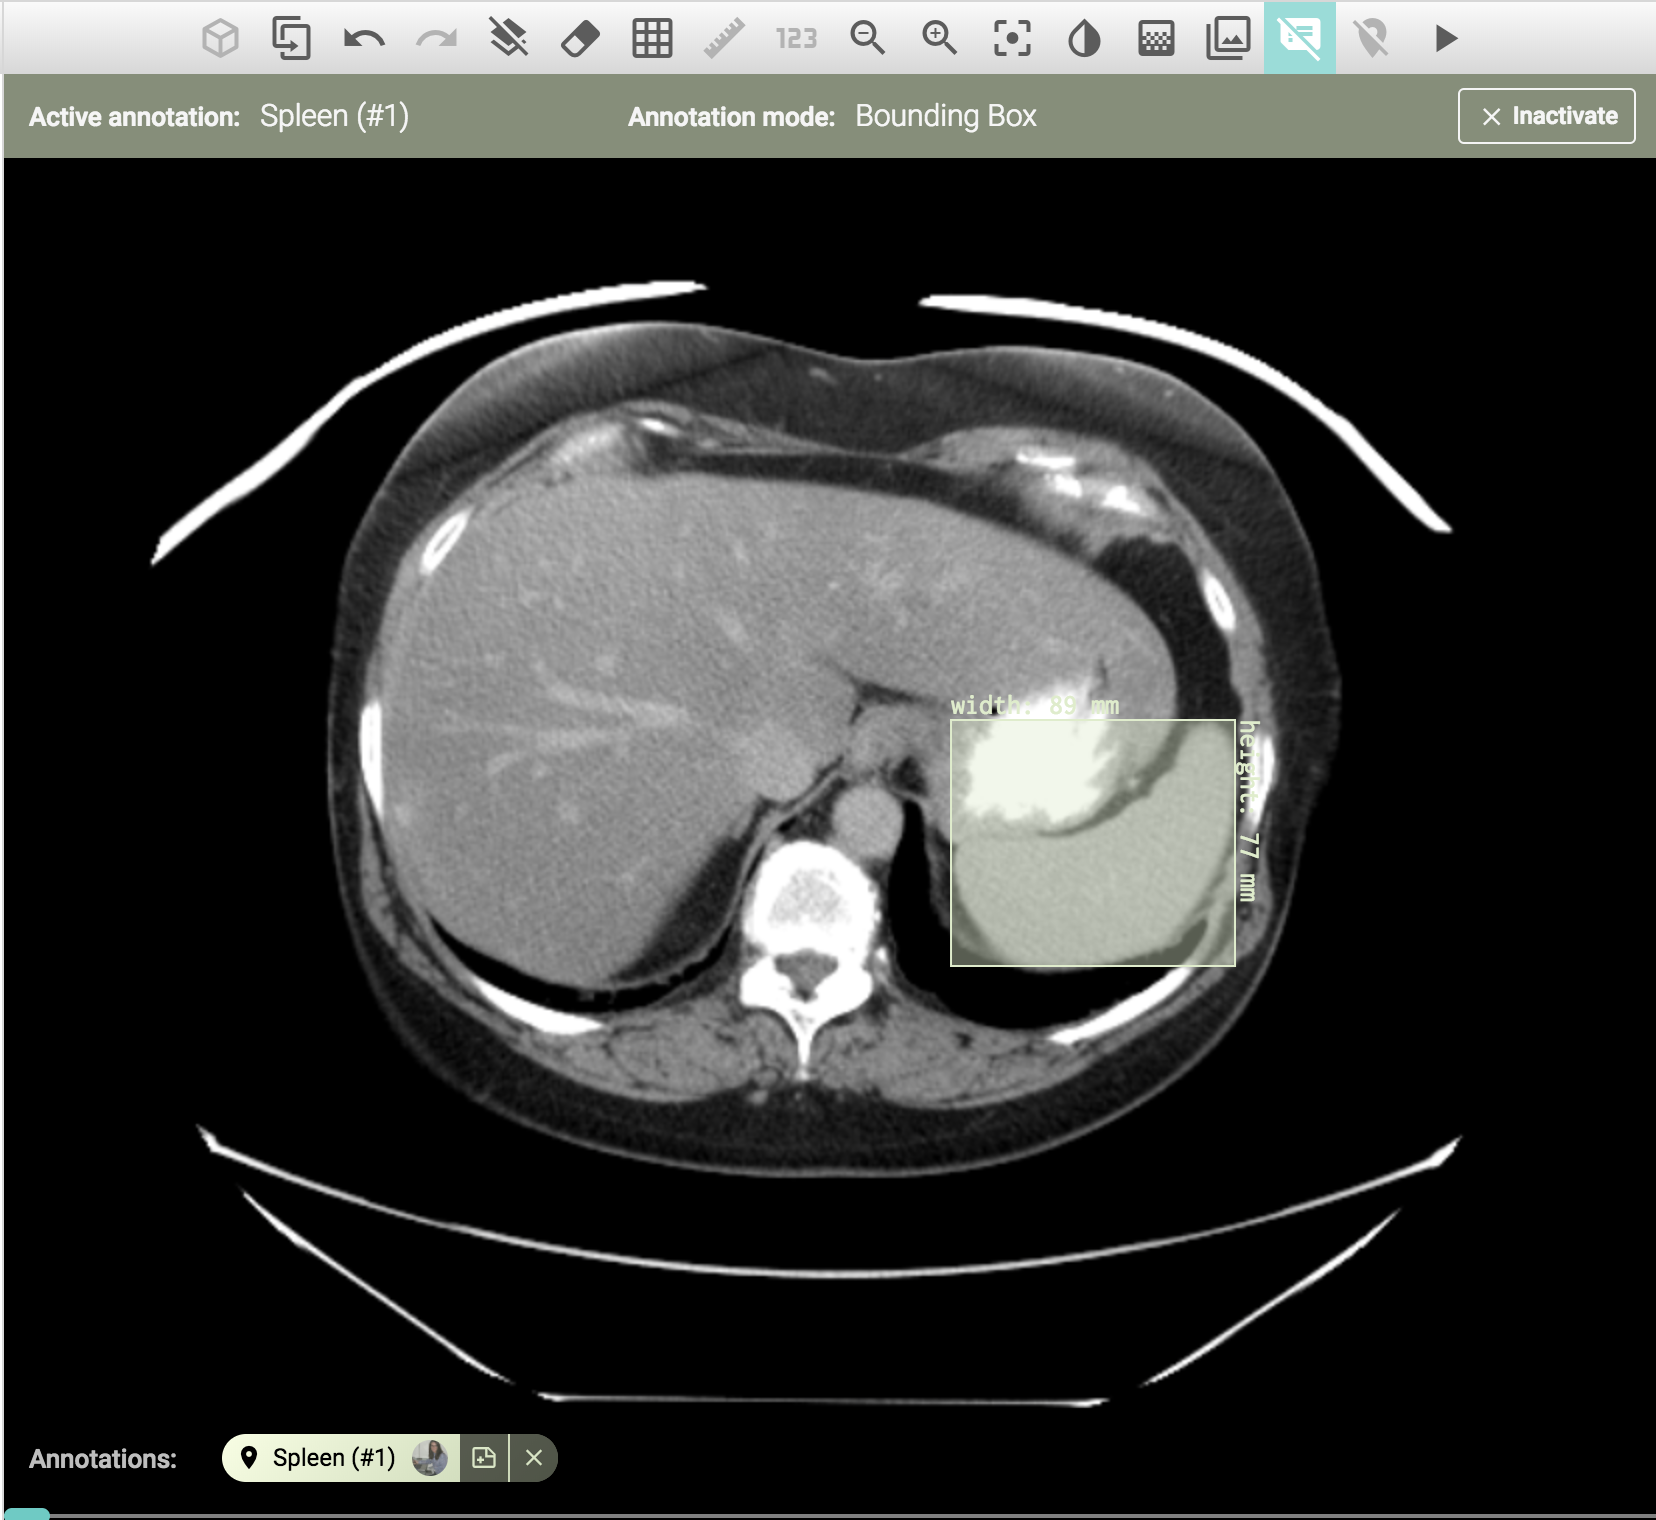
Click on a label to activate it. You will see a bar across the top of the image area showing the name and type of the active activation and also a button to inactivate it. All mouse/ trackpad functionalities work for that active label (instead of the usual scrolling or window/ level functionalities)
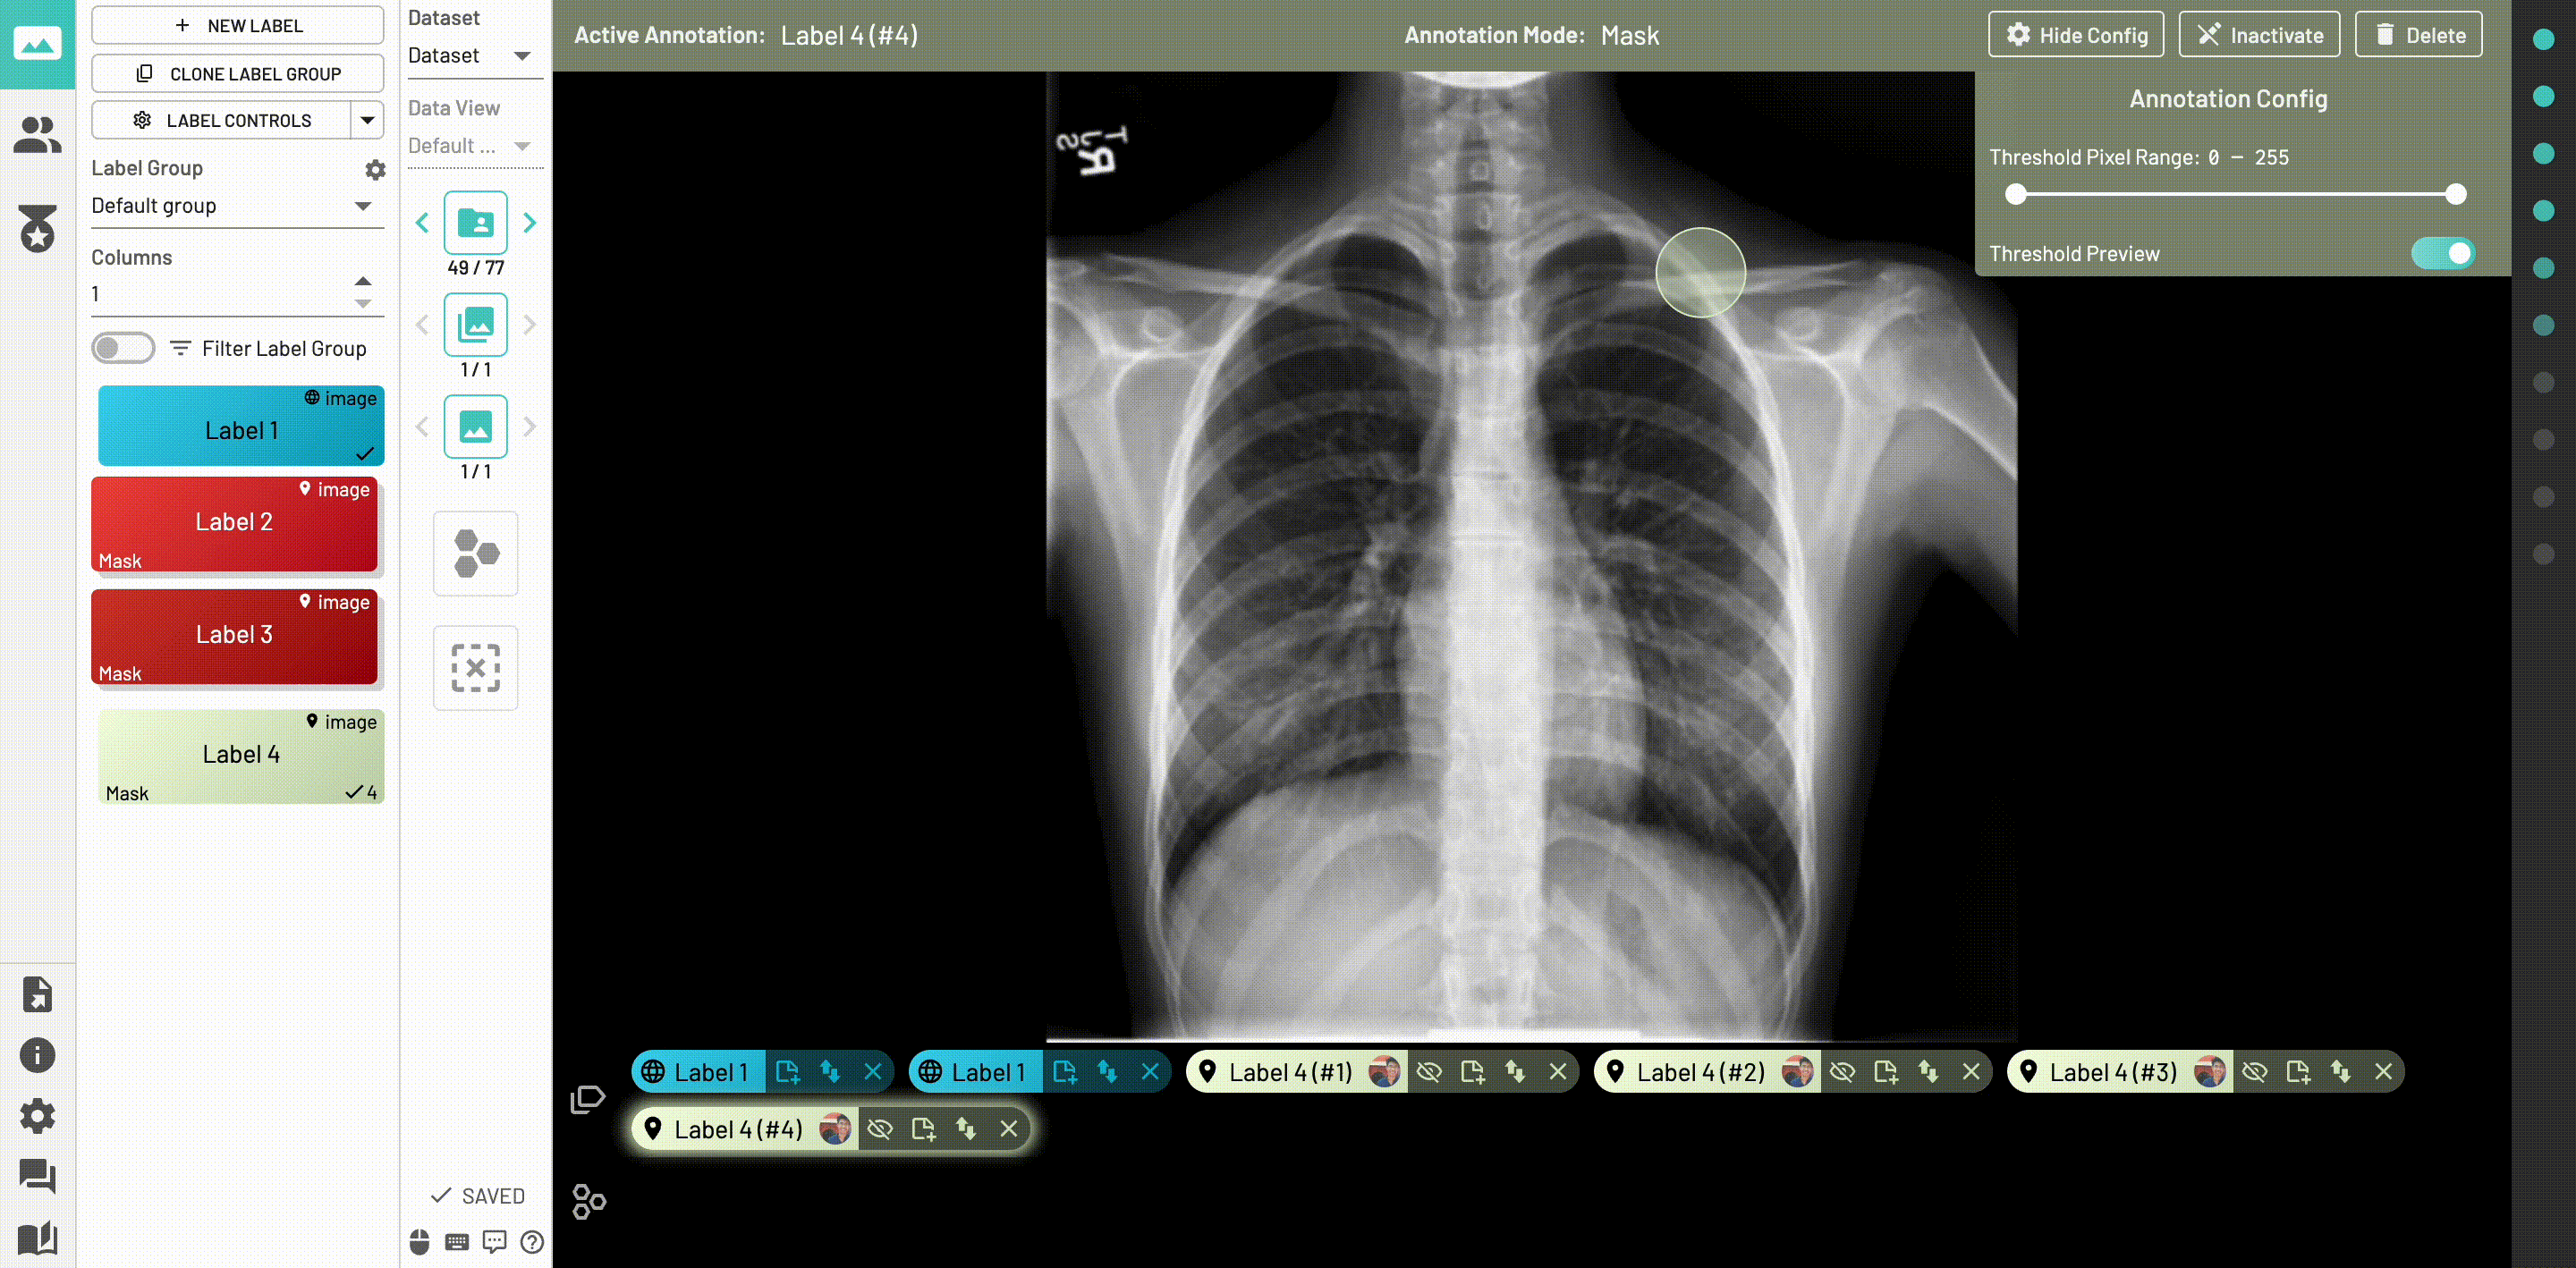
If the label is inactive, it can’t be drawn or modified. Colored tags show up on the bottom of the image showing the team member who created the annotation. You can also add a note to any individual annotation to indicate special details.
If the annotation uses a Global label, you’re done and ready to go to the next case.
If the annotation is Local, you would use your cursor to draw the appropriate annotation. When you are done, you can edit the annotations by grabbing and editing the entire shape, individual points, or the sides of a bounding box.
When the annotation is to your liking, you can either click Save or just go to the next Image in which case saving is automatic.
If you want to further edit the annotation, just click on its tag at the bottom of the image or use keyboard shortcuts to activate the label and edit it.
Brief Freeform Annotation Video
Mask Video
Mask annotation mode allows multiple shapes to be drawn on the same image. The drawing tool includes pencil width and shape as well as an eraser for corrections. Undo and Redo will remove/reinstate the last drawing or erasing action.
Automated Annotation
For annotations of Mask type, annotations can drawn by users or generated using the automated annotation tool. To use this feature click on the Mask Tools menu (brush icon), above the view port and then on Auto Segmentation.

Additional features include toggles to show or hide threshold previews, and assisted modification options.
Auto segmentations can be propagated through 3D images using the copy forward function available in the Mask Tools menu. Click on the Smart Tracking option (interlocking circles icon) within the mask tools menu to copy the box you created for auto segmentation forward to the next image.
Image Manipulation
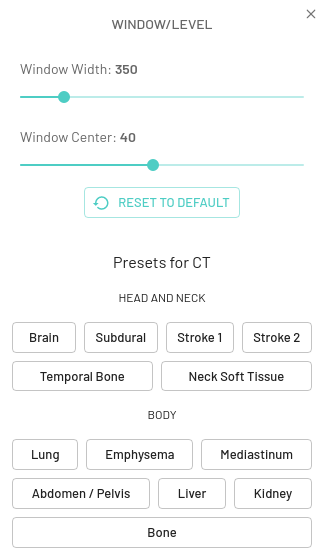
You can zoom, pan, and change the contrast and level using your mouse, trackpad, or with keyboard. Specific instructions are seen by clicking the mouse and keyboard icons in the Navigation column. There are buttons above the image to change the contrast and level values. You can use the preset buttons, keyboard shortcuts for CT scans, or select custom values with the window /level sliders.
Applying Multiple Labels
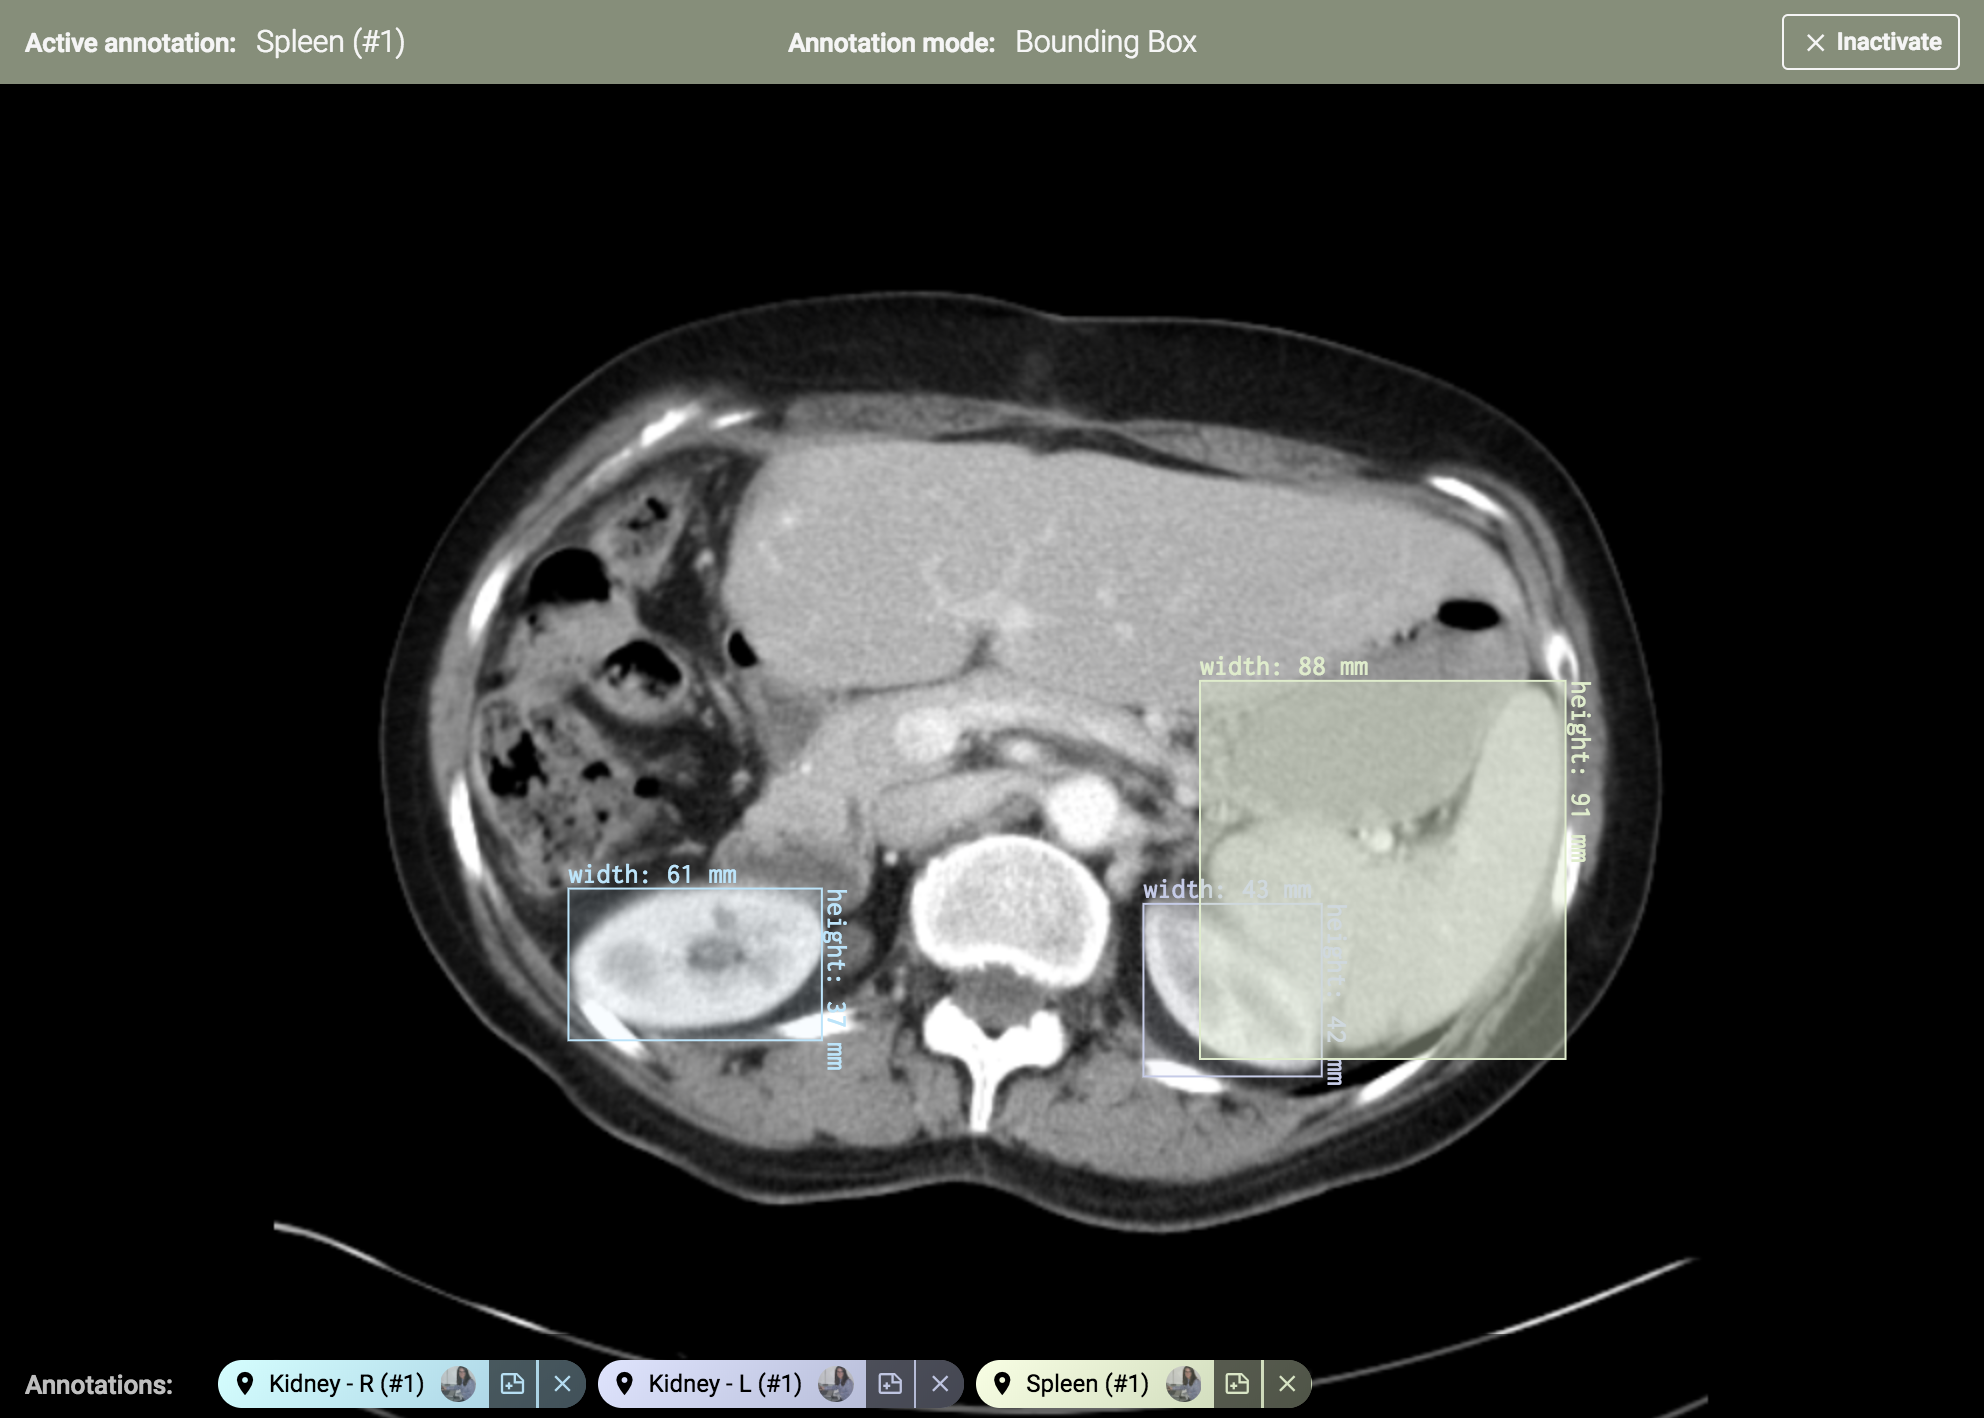
Applying different labels on the same image
Apply each label, one by one, and the bottom Annotations toolbar will indicate all the labels applied on that image.
Applying the same local label multiple times
Applying the same local label multiple times works the same way. Just click on the same label again to apply the label on the image again.

Remember that keyboard shortcuts are available to quickly apply a label.
Interpolation
Freeform shapes, polygons, lines, boxes, mask (auto-segmentation)
Interpolation can be used for mask, freeform, bounding boxes, lines, polygons and image level labels to automatically add labels on images between anchor frames.
- Draw a mask (with auto-segmentation enabled), box, freeform shape, polygon or line
- Click
Add Frame - Skip a few images and draw another annotation using the same label
- Click
Add Frameagain - Repeat until you have as many frames as you like
- Finally click
Interpolateand the boxes/shapes/etc in between will be drawn as a smoothed average between the anchor frames

Global Image level labels
For global image level labels -
- Label the first image where an entity is seen
- Click
Add Frame - Label the last image showing the entity
- Click
Add Frameagain - Finally click
Interpolateand all the images in between will be labeled automatically
If you make a mistake, you can use Label Controls to bulk remove.
Bulk Remove
If you have many labels that you would like to remove and possibly redraw. Use the Bulk Remove option.
- Use
Label Controlsto selectSelect labels to BULK REMOVE associated annotations - Pick the scope for deletion, either
Image,Series,Examor the entireDataset - Click the
Bulk Removebutton and the annotations will be deleted
Note
Only project admins can bulk delete at the dataset scope level. There will also be an additional confirmation popup to make sure this deletion is intentional.
Copy Annotations To Next Image
To copy an Active annotation quickly to the next or previous image in an exam, by selecting the Copy Active Annotation (to next image) button from the Copy tools section in the toolbar.

You can add notes, radlex tags, review annotations and do much more with annotations. Check out the Labels page to know more details.
Copy Annotations To All Images (Series)
You can also copy the Active annotation to all images in the series by selecting the Copy Active Annotation (to all images) button from the Copy tools section in the toolbar.
Note
Keyboard shortcuts are also available to help annotate faster and easier.
Annotating Videos
MD.ai supports video annotations and you can now upload any MP4, AVI, H264 file to work with.
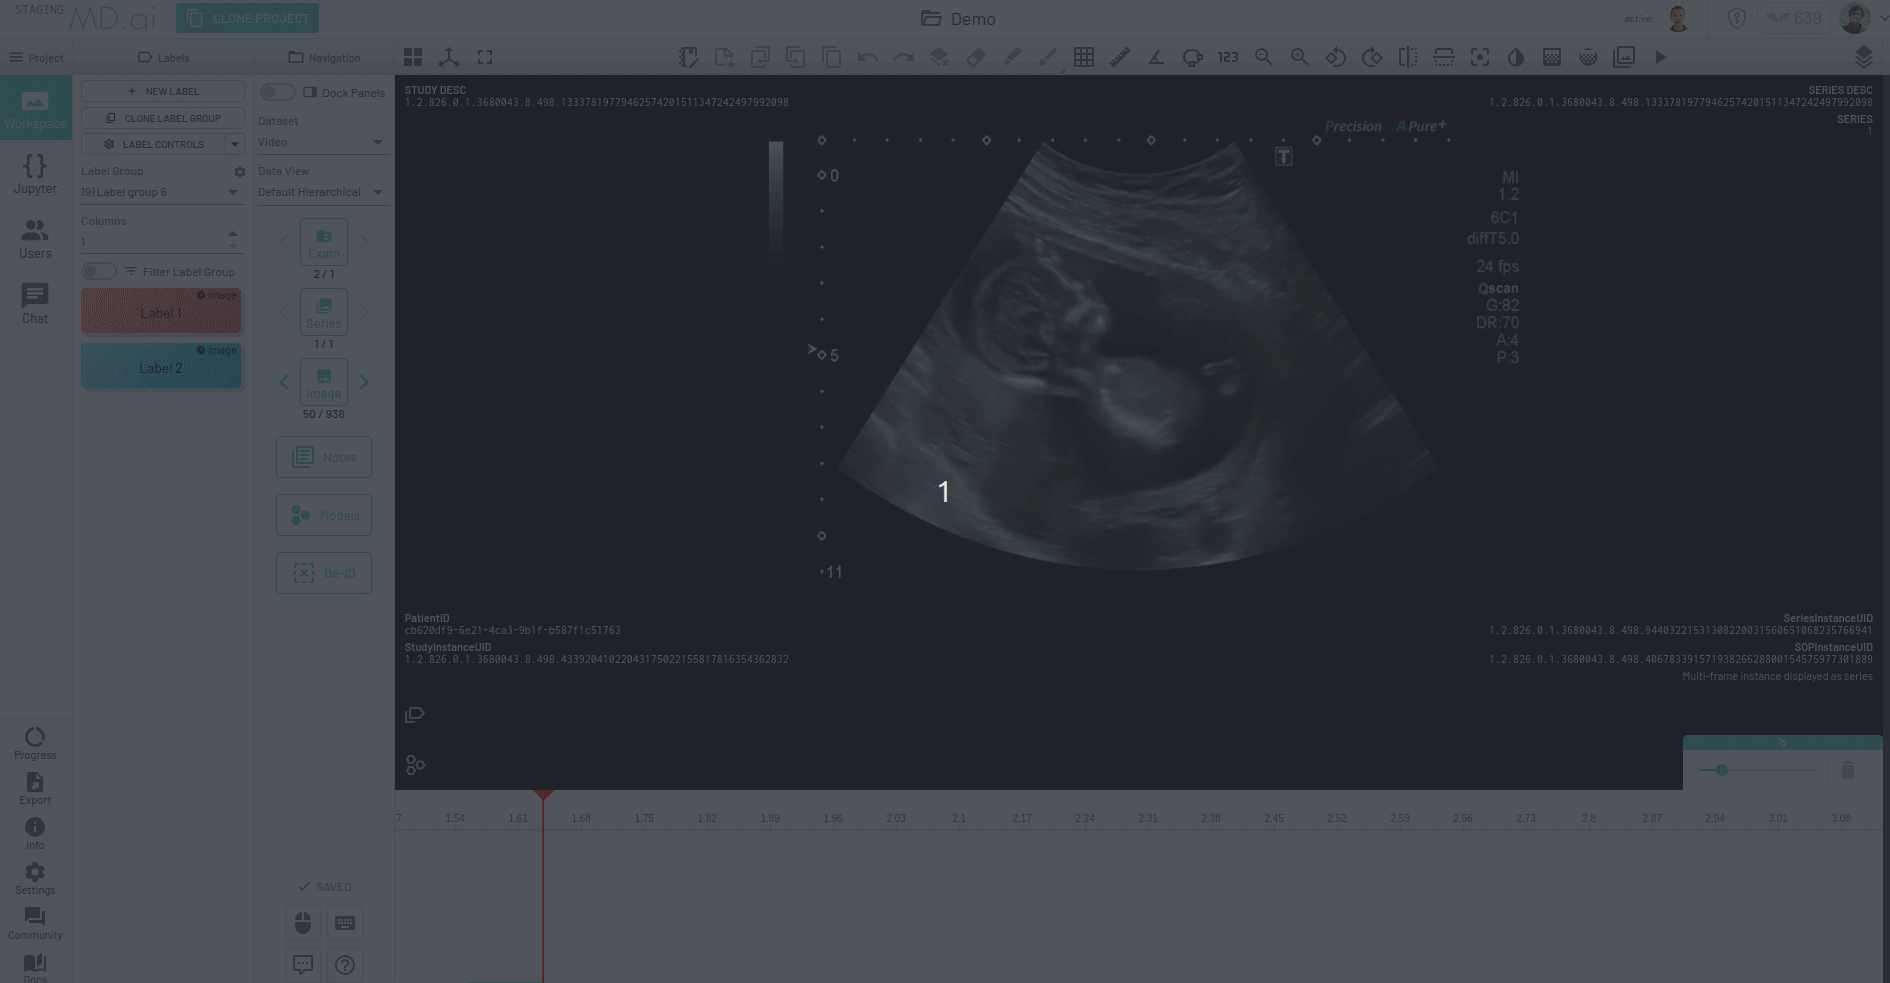
Annotations work similar to annotating any other file format but advantages for videos include the fact that you can now interpolate any global or local labels in order to group them for a specific timeframe in the video (for eg. to mark the presence of an object).
Also when you export annotations for videos, each annotation in the JSON will additionaly have frameNumber and timestamp keys that will show the frame number and timestamp for the particular frame (in seconds) that contains the annotation.