Labels
MD.ai Annotator has a flexible annotation system that helps you annotate datasets for all kinds of medical AI projects, including classification, localization, segmentation, and regression.
Create New Labels
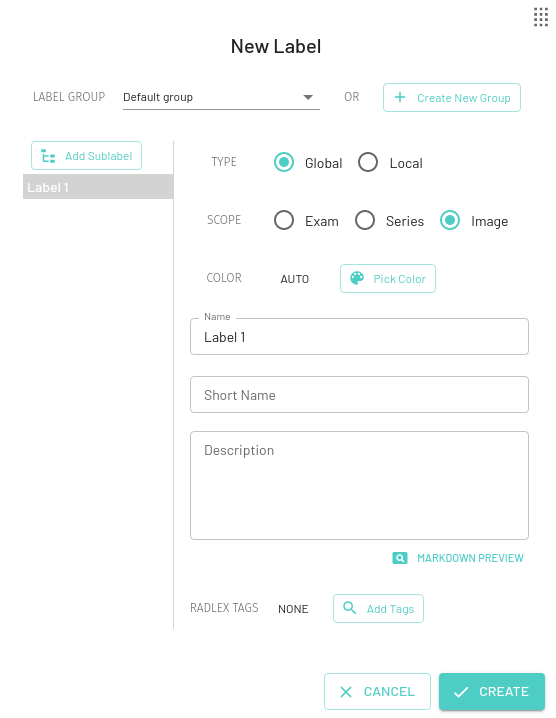
You can create new labels by pressing the + New Label button. The annotator supports both Global and Local scoped labels. Labels can be moved, edited, and deleted after creation. You can choose to create the new label in the existing label group or in a new label group as discussed in the Label Group section.
Global Labels
A global label is applied to the whole image, series or the entire exam (eg. Normal) which is useful for letting your training algorithm know that this particular image/series/exam should be in the particular category specified by the label.
You can also use a global label as metadata for Quality assurance, for example a label named Ignore can be applied to images that are of insufficient quality or shouldn't belong in the dataset.
For Global labels you can choose the scope as Exam, Series, or Image. By default the Image scope will be selected.
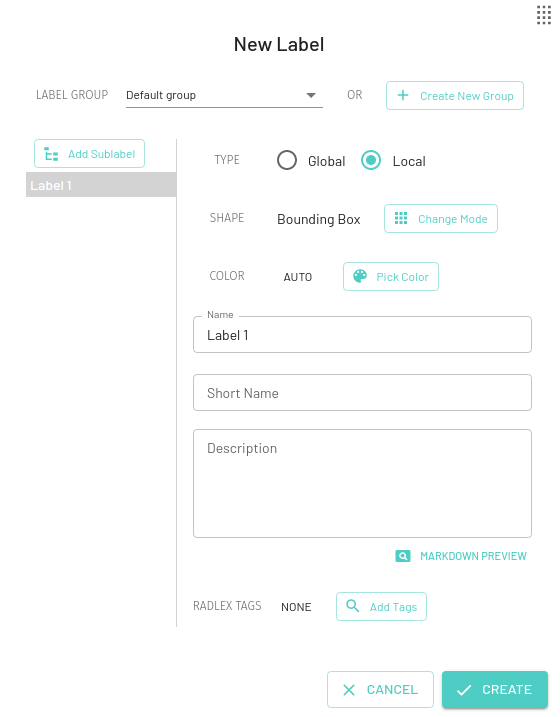
Local Labels
A local label can be applied to a specific region in the image (eg. Lung Nodule). For a particular local label, multiple instances of that label can be applied to different regions on the same image (eg. for multiple lung nodules).
Note
Local labels can only be applied to individual images and not an entire series or exam.
For local labels, you can choose from a variety of annotation modes, by default the Mask label will be selected -
Bounding Box

Creates a rectangular bounding box for annotation. Also calculates the width and height for each bounding box in pixel values that is displayed on the edges (can be toggled off using Layer Controls).
Freeform

Creates a freeform shape for annotation. Also calculates the longest diameter (even if that line is not fully contained within the freeform shape). Edit the freeform shape by hovering over the edge and dragging and/or sliding any of the dots that appear. You can add more control points for fine tuning.
The freeform label supports additional tools and measurements that can help fastrack your annotation process -
Chop/Extend tool
Once a freeform annotation is created, the Chop/Extend tool can help easily edit it by removing/extending sections respectively. It can be activated from the Freeform tools section on the toolbar or using keyboard shortcuts (C when a freeform annotation is active).
- To extend the annotation for including additional pixels, draw an arc covering the new section close to the current annotation.
- To remove a section from the annotation, draw an arc passing through the current freeform annotation and the required section will be removed.
Minimum Bounding box measurement
The Minimum Bounding Box(MBB) will be shown with its major and minor axes for each freeform annotation, along with the option to toggle and highlight measurements from the label's annotation measurement settings.
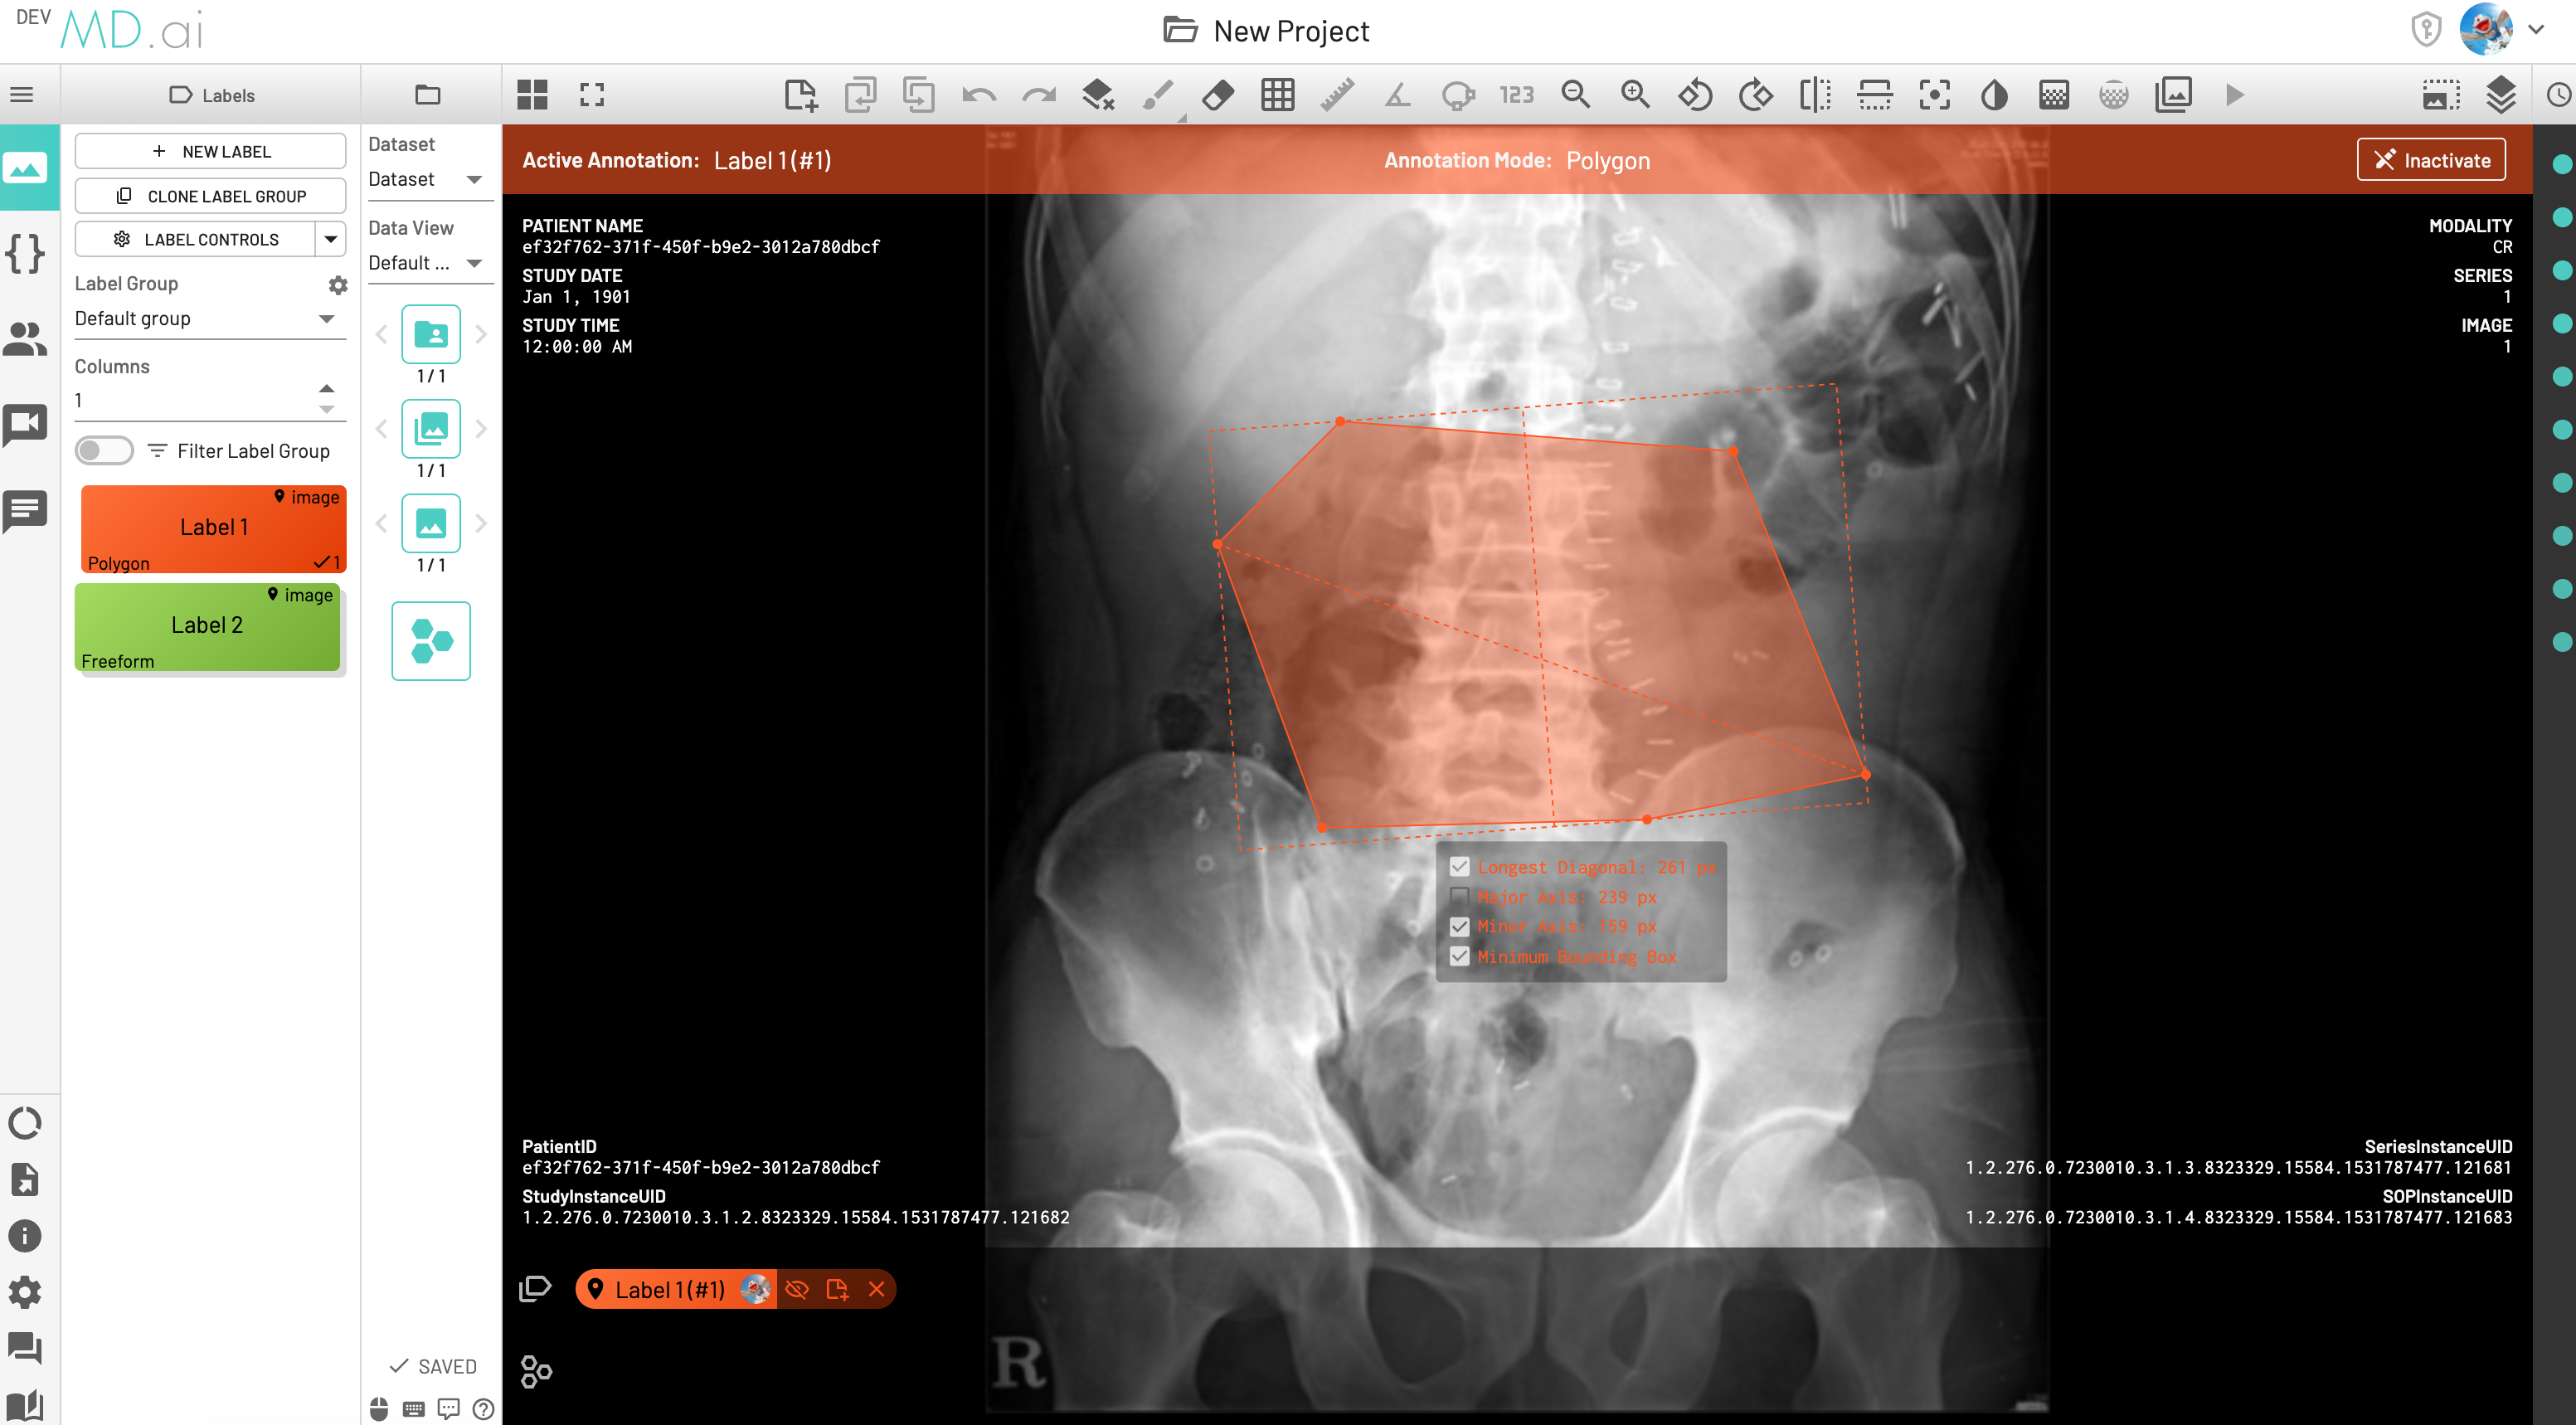
LDi and SDi measurements
The longest diameter (LDi) and shortest axis perpendicular to the LDi (SDi) measurements are also displayed for each freeform annotation. For inactive anntations, both the SDi and LDi lengths will be shown. For active annotations, the SDi will be shown as a dashed line. These measurements can also be toggled on or off from the annotation measurement settings.
Polygon
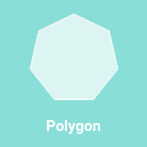
Creates a polygon shape for annotation. Also calculates the longest diameter (even if that line is not fully contained within the polygon shape). Edit the polygon shape by hovering over the edge and dragging one of the polygon corners.
The polygon label also supports Minimum Bounding Box (MBB), LDi and SDi measurements as stated above.
Mask
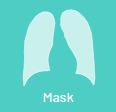
Creates a pixel level segmentation mask. Also allows multiple shapes to be drawn on the same image. You can also set a threshold range (HU) to be applied for the mask annotation.
The drawing tool includes brush width and shape as well as an eraser for corrections. Undo and Redo will remove/reinstate the last drawing or erasing action.
Mask annotations are automatically saved upon application and on switching from one image to other. Brush settings such as brush size, super pixel size and brush mode are also persisted.
With the mask label, there come additonal tools that can help auto-segment various parts of an image and fastrack your annotation process -
Automatic Segmentation Tool
The mask label comes with an automatic segmentation tool that is powered by Meta AI's Segment Anything model. This tool can be activated from the Mask tools section on the toolbar when you have an active mask label.
Using this, you can quickly generate a segmentation mask by drawing a bounding box around the required area or pressing Apply/[enter]. A segmentation will then be created automatically -
You can also iteratively refine the segmentations by adding Foreground (to add regions) or/and Background (to remove regions) seed points to get the updated mask -
Note
It is possible the algorithm doesn't produce any segmentation the first time you draw a bounding box. In that case make sure to add foreground (or/and) background seed points to generate the required segmentation.
Annotation propagation
There is another way to propogate your annotations across a series, for example when trying to segment an organ. When autoseg is active, you can copy forward the active annotation to the next image and the annotation in the next image will automatically try to adapt to the changes in shape and size of the area of interest for the new image. The bounding box prompt will automatically resize to give you the desired results. Keep copying the annotation forward and segmentations across slices will be completed in no time.
Interpolating Masks
Now what if the part that you are trying to segment changes both size and position in the subsequent images nut you don't want to go through each frame manually?
Interpolation helps solve this problem by asking you to annotate a few anchor frames, that have unannotated images between them, and all images between those frames will be automatically segmented by automatic resizing of the bounding box prompt to accomodate changes. Note that the automatic segmentation tool needs to be enabled to use this feature. The process is the same for annotating using any other label -
- Auto segment the part on the first image you want to start from
- Click Add Frame
- Skip a few images and auto-segment using the same label
- Click Add Frame again
- Repeat until you have as many frames as you like
- Finally click Interpolate and the masks in between will be drawn as per the smoothed average of the bounding boxes
- You will be taken back to the first image you started with. Scroll through the subsequent images to see the interpolation and automatic segmentation in action.
In this example we only annotate slices 17, 21, 25 and 30 for segmenting the spleen on an abdomen CT scan. Interpolation helps annotate the slices in between by adjusting the bounding box prompt fed to SAM to accomodate changes in shape and position of the spleen.
This interpolation can alse be used when you have HU thresholding activated on a particular exam and only the region of interest that lies within the threshold will be interpolated.
Smart Tracking
While using the automatic segmentation tool, you can enable Smart tracking to copy forward the bounding box prompt to subsequent images in the series for automatic segmentation. This works great if the part you are trying to segment does not change position much in the next few images and you know that it will still most likely lie within the initial bounding box. You can still edit the segmentation on any image by adding foreground or/and background seed points. This tool can also be activated from the Mask tools section on the toolbar.
![]()
Line
Creates a line path with one or more segments.
For line annotations with 3 vertices, the angle formed inbetween will be automatically displayed -
Location
Simple location coordinates are applied in this mode
Ellipse
Creates an elliptical shape for annotation.

Includes various measurement details such as Major Axis, Minor Axis, Circumference, Area, Mean, SD and Rotation. Also supports interpolation between frames.
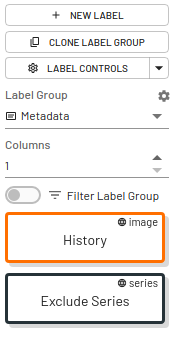
Metadata Labels
Metadata labels can be used for information that you need to display across all label groups, eg. history, accession number, report information. Metadata labels can only be applied by project Admins.
- Use the API to import information into the notes portion of the label. The text will be displayed in the UI.
- Metadata labels can be at the image, series, or exam level.
- Metadata labels have a special designation. They will not register as
Annotatedand are not included in the exported json.
Sublabels
An arbitrary number of sublabels can be created to existing labels to streamline label appearance and annotation. Any type of annotation can be chosen for the main header label and sublabel. You can also mix and match modes and types of annotations. Multiple sublabels can be applied at the same time after a parent annotation has been created.

Note
It's important to plan out the structure of your labels and sublabels before you start creating them. If you're not sure, create extra sublabels and you can delete them later by turning on Show All Sublabels.